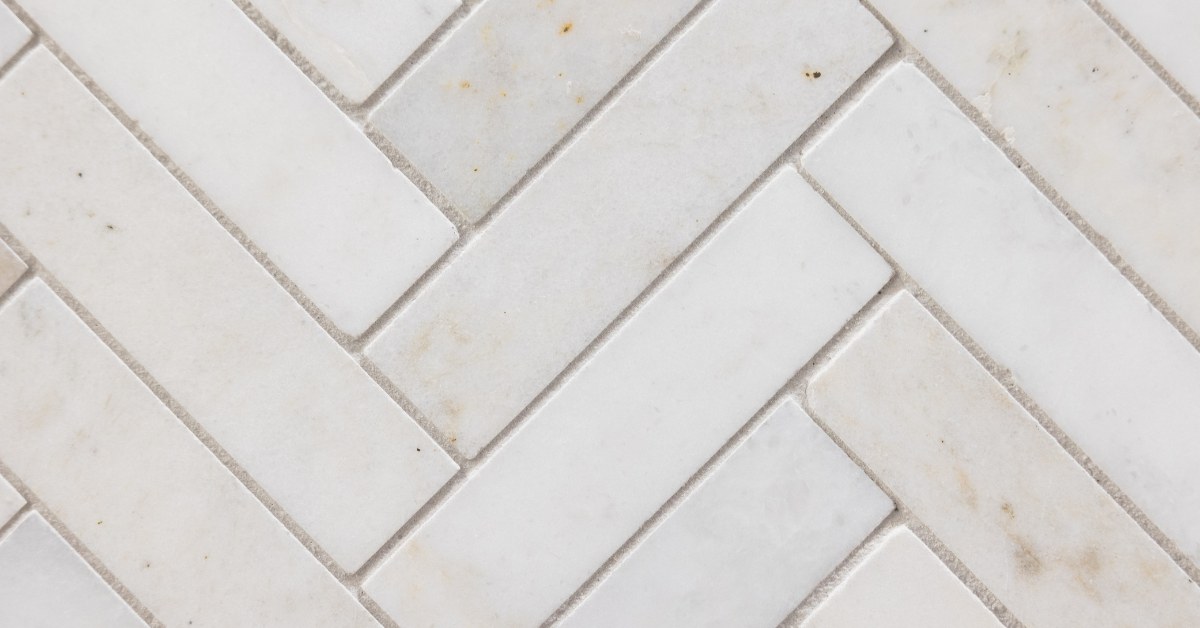
If your kitchen’s looking a little drab or you’re constantly scrubbing splashes off the wall, installing a subway tile backsplash might be the perfect DIY home improvement for you. It adds some personality and style to the room, but more importantly, it protects the walls and makes cleanup way easier. With a smooth tile surface, you can just wipe things down instead of dealing with stains sticking to painted drywall. Subway tile adds a timeless look to the space, and the install process is pretty forgiving, even if it’s your first time.
Gather the Supplies
Start by measuring your backsplash area so you know how much tile to get, then add a bit extra. You’re probably going to mess up a cut or two, and running out mid-project is the last thing you want. You’ll need tile adhesive (either thinset or premixed mastic), a notched trowel, spacers, grout, a grout float, and something to cut the tile (either a tile cutter or wet saw). A level and some painter’s tape will come in handy, too.
Prep the Wall
Now that you have your supplies, prep the wall. Turn off the power to the kitchen, then remove all outlet and light switch covers and put them somewhere they won’t get dirty. Repair any cracks or holes with spackle, and sand down raised spots so the surface is smooth. Dust everything off, then degrease with an ammonia-based cleaner or trisodium phosphate. Finish with a final wipe using a damp rag, and you’re ready to tile as soon as the wall’s fully dry.
Plan the Placement
Before you start sticking tiles to the wall, lay a row out on the counter to get a feel for how everything’s going to line up. This is especially important around outlets, corners, and the bottom of your cabinets, as it helps you catch any weird cuts or awkward slivers you might end up with in the top row. Take note of where you’ll need to trim tiles to fit around things like outlets or window edges so you’re not caught off guard.
Lay the Tile
Once you’re happy with the layout, tape off counters and nearby surfaces to protect them from adhesive and grout. Start applying tile adhesive to a section of the wall using your notched trowel, working in small areas so the adhesive doesn’t dry out before you place the tiles. Press each tile firmly into the adhesive, using spacers between them to keep your grout lines consistent. Every so often, use a level to make sure your rows are straight and nothing’s shifting. As you work, keep in mind you’ll have a good bit of waste to deal with. Renting a small dumpster from Waste Removal USA can help keep those scraps and debris out of your way, making cleanup less of a headache.
Apply the Grout and Sealer
After the adhesive dries, move on to grouting. Use a rubber float to press the grout firmly into all the gaps between your tiles, making sure they’re fully filled. Then, take a damp sponge and gently wipe away the excess grout from the tile surfaces. You might see a bit of haze or film at first, but that’s totally normal. Just keep rinsing and wiping the sponge and go over the tiles a few times until the haze disappears. Let the grout cure fully before sealing to protect it and keep everything looking great.
Conclusion
Installing a tile backsplash might not be the quickest project, but you can definitely knock it out over a weekend. You’ll be rewarded with something that looks great and holds up to everyday messes, and you might even learn a few things along the way.


